Please make sure that your device complies with the following system requirements.
The Remote Labs Client provides a simple and easy to use access to the Fast Lane Remote Lab Services. The Remote Labs Client Installer is available in the Download section.
At the moment the Remote Lab Client supports the Windows and MacOS operating system. Please refer to the relevant requirements sections for more information.
56 kBit/s or higher multiplied with the number of Student- PCs. We recommend for 1-4 Pods: 400kBit/s, for 5-8 Pods: 700kBit/s and for 8-16 Pods: 1MBit/s. *If you are using a shared line e.g. for parallel trainings, ensure that you have enough bandwidth for each class.
It is not possible to access the Fast Lane Remote Lab System directly using a Proxy. If a Proxy must be used due to company policies, please use the following solution.
Please contact our Support for further help.
Firewalls must allow the client to establish outbound TCP connections to:
| IP | Port (Traffic) |
|---|---|
| 213.203.255.58 | Port 443 (HTTPS) |
| 217.110.100.76 | Port 443 (HTTPS, WSS, SSH) |
Following DNS names have to be accessable:
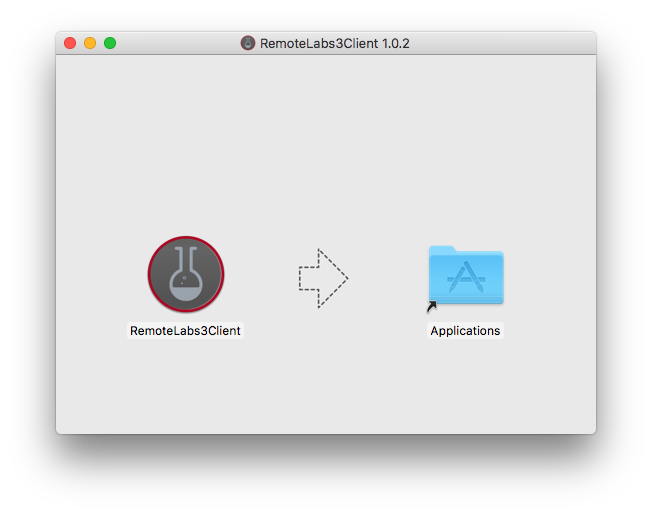
Follow these steps in order to install the RemoteLabs 3 Client Software on your System.
In order to make sure that the Remote Labs Client works with your device, please read the
System Requirements. Afterwards, please download the right version for your OS in
the download
area and open the file.

Log In to your account on the welcome screen shown below:
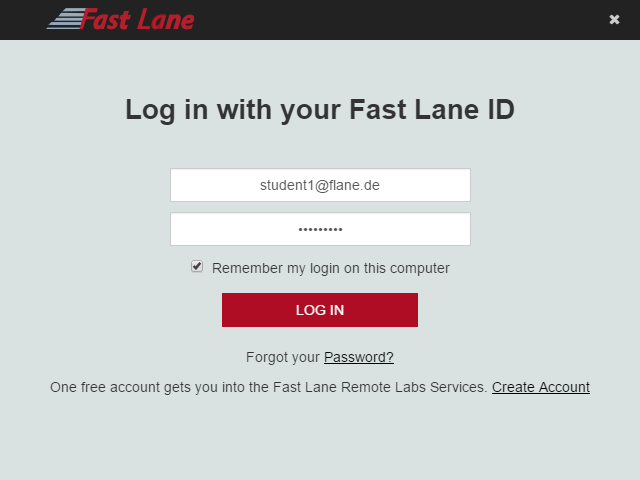
By checking the box "remember my login on this computer", the user name is prefilled the next time the client is started, with the last entry of a successful login.
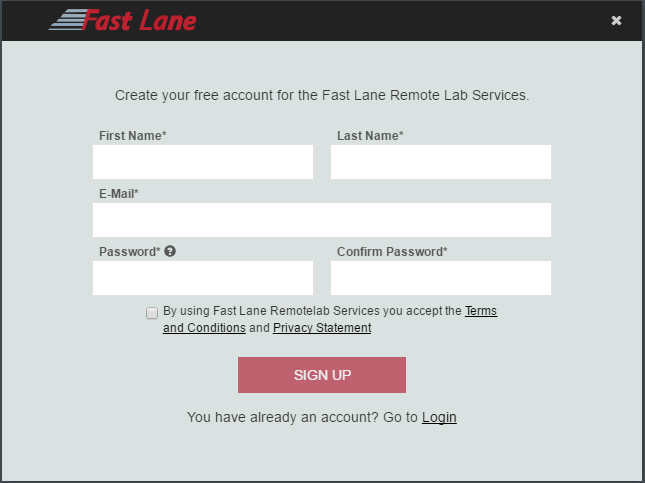
If you don't have an account yet, click "Create Account" on the login page to create your own:
After Login your Dashboard will open up:
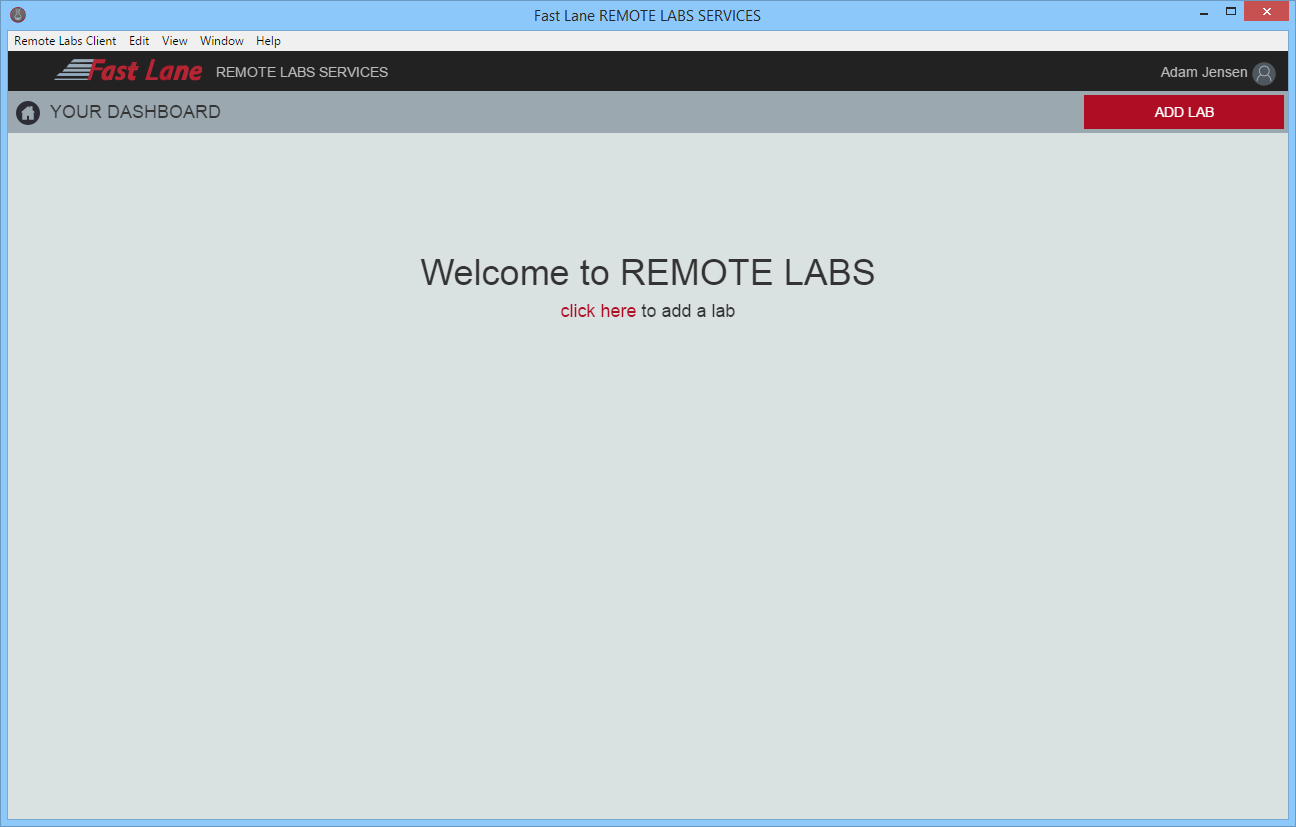
This is the overview for all Labs you're currently attending. Please add the Lab you want to join like this:
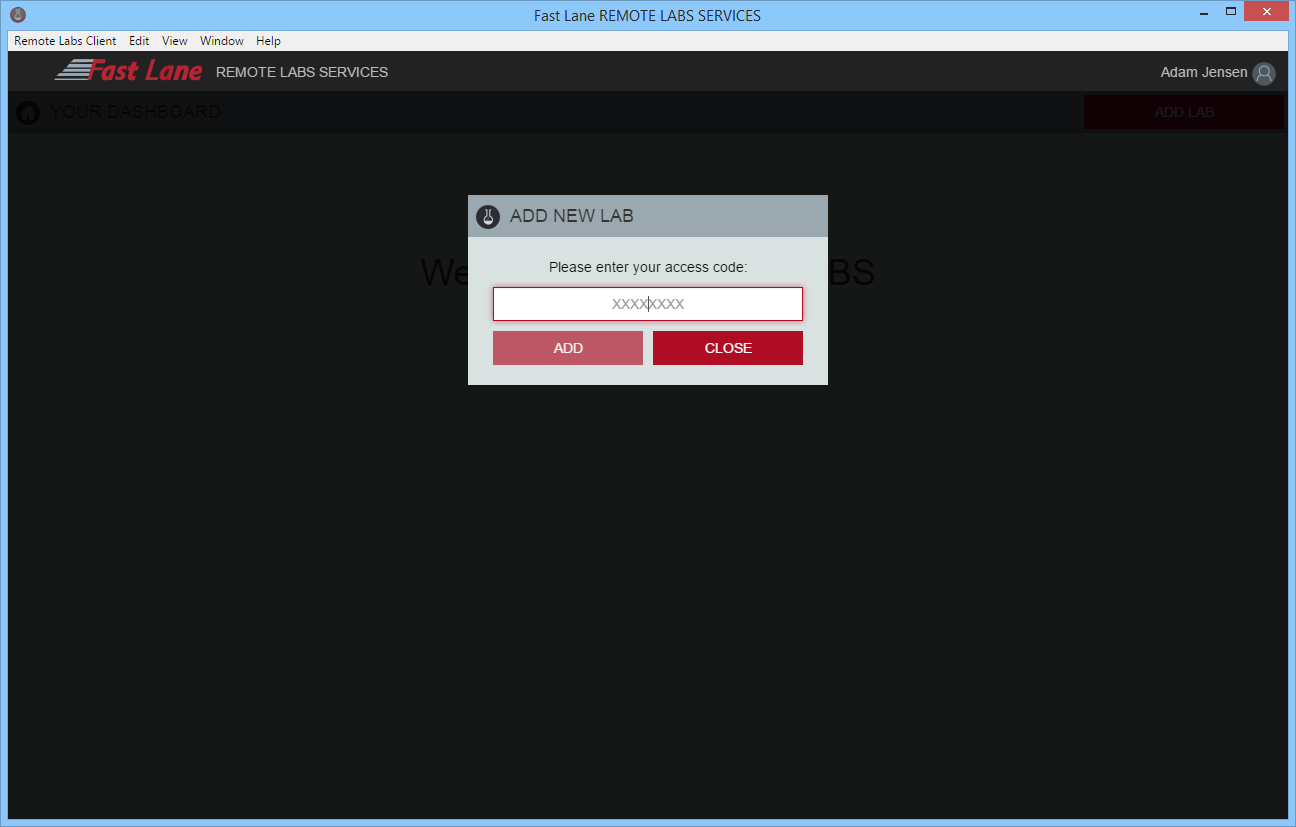
When you've successfully entered the AccessCode, which will be provided by your trainer, your Lab will appear on the Dashboard:
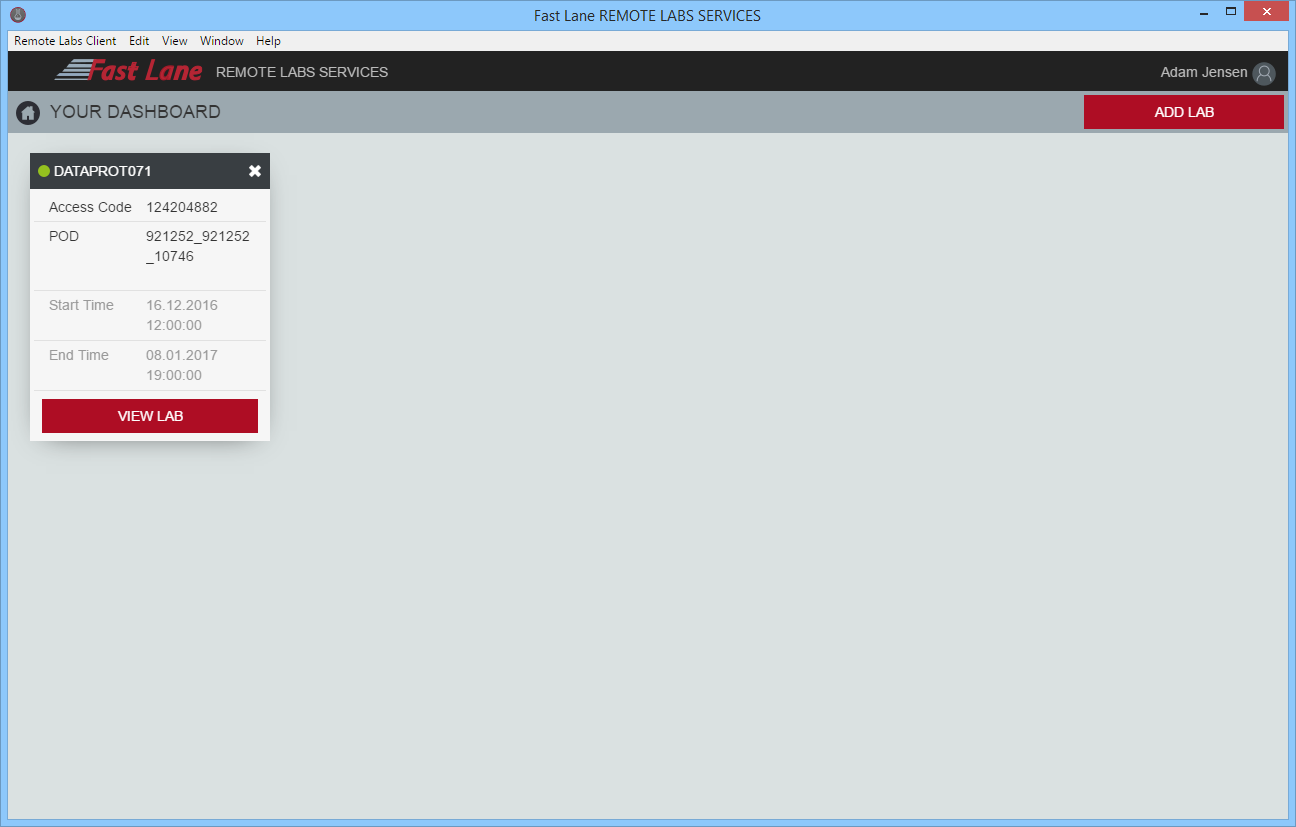
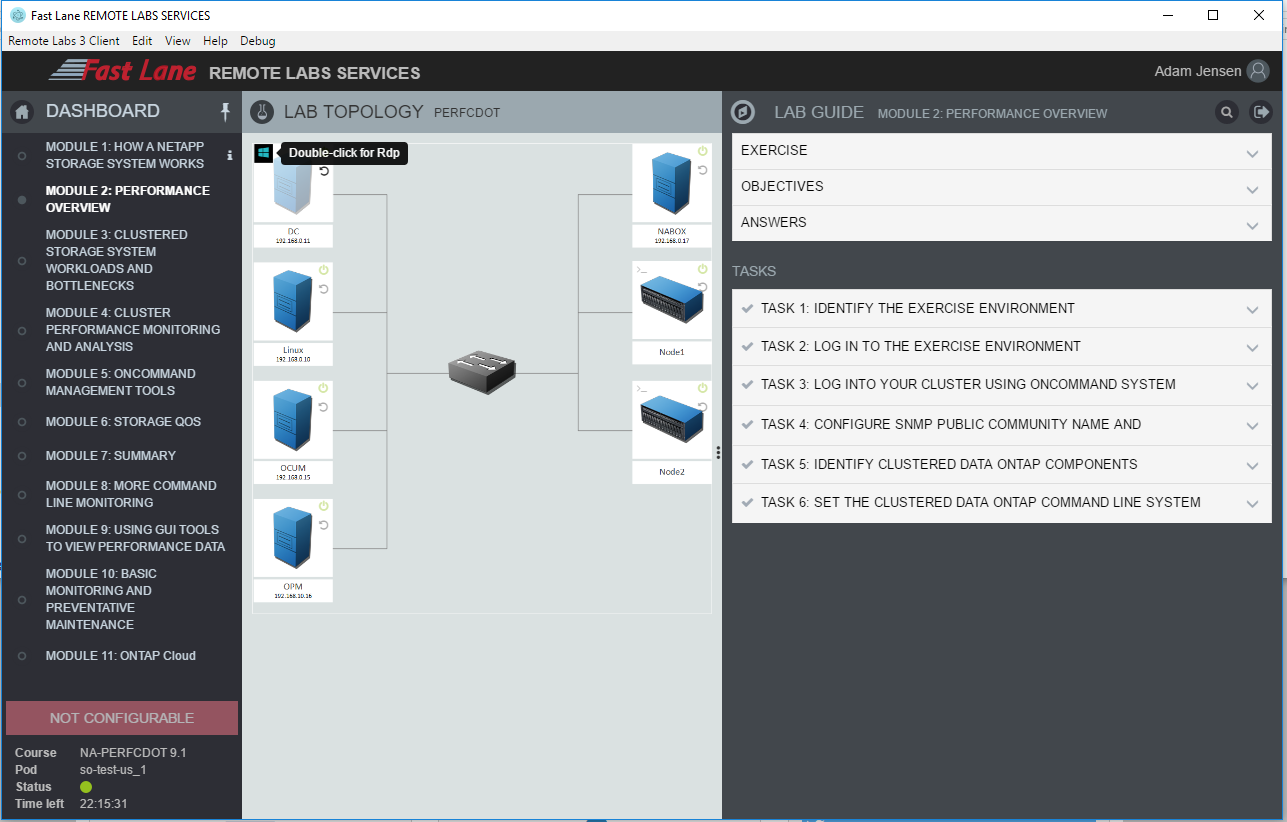
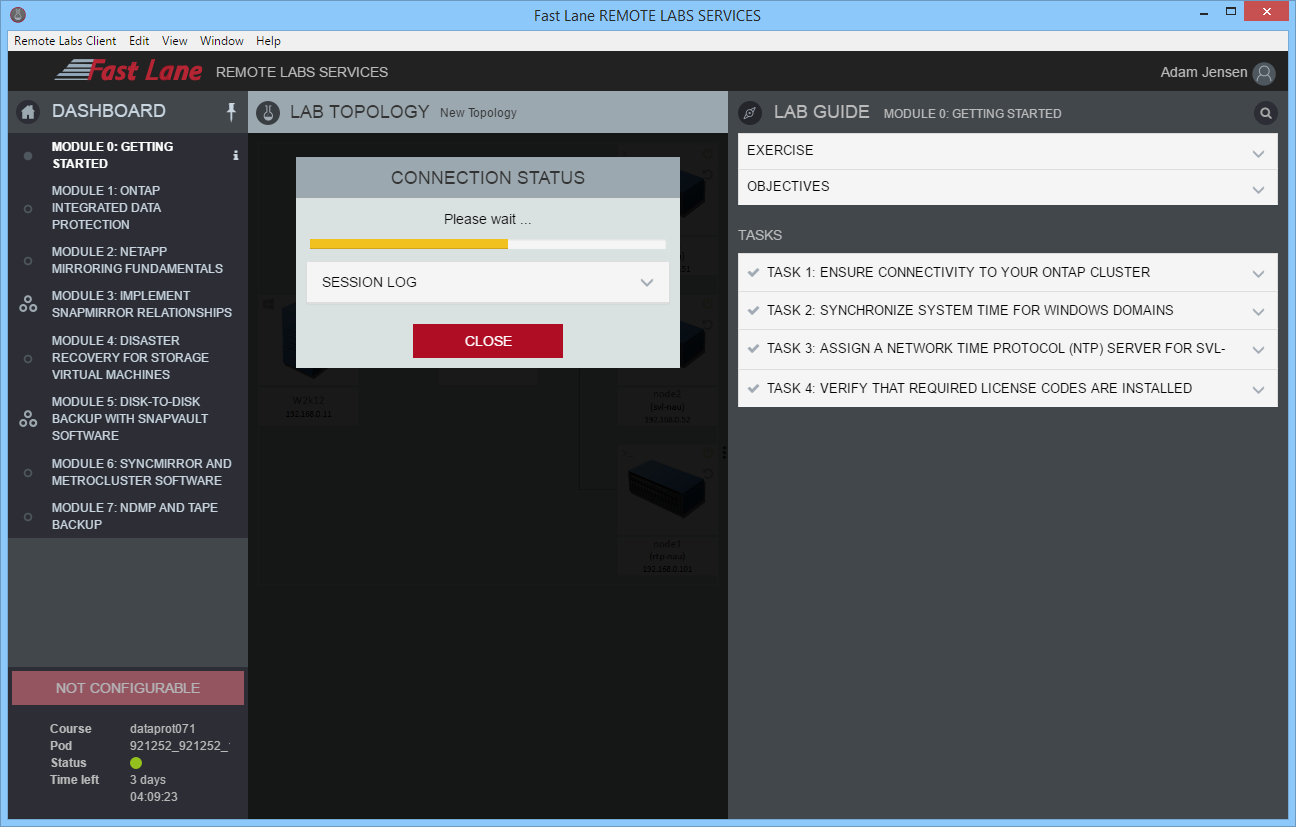
Click on the "VIEW LAB" button and your Lab will open up:
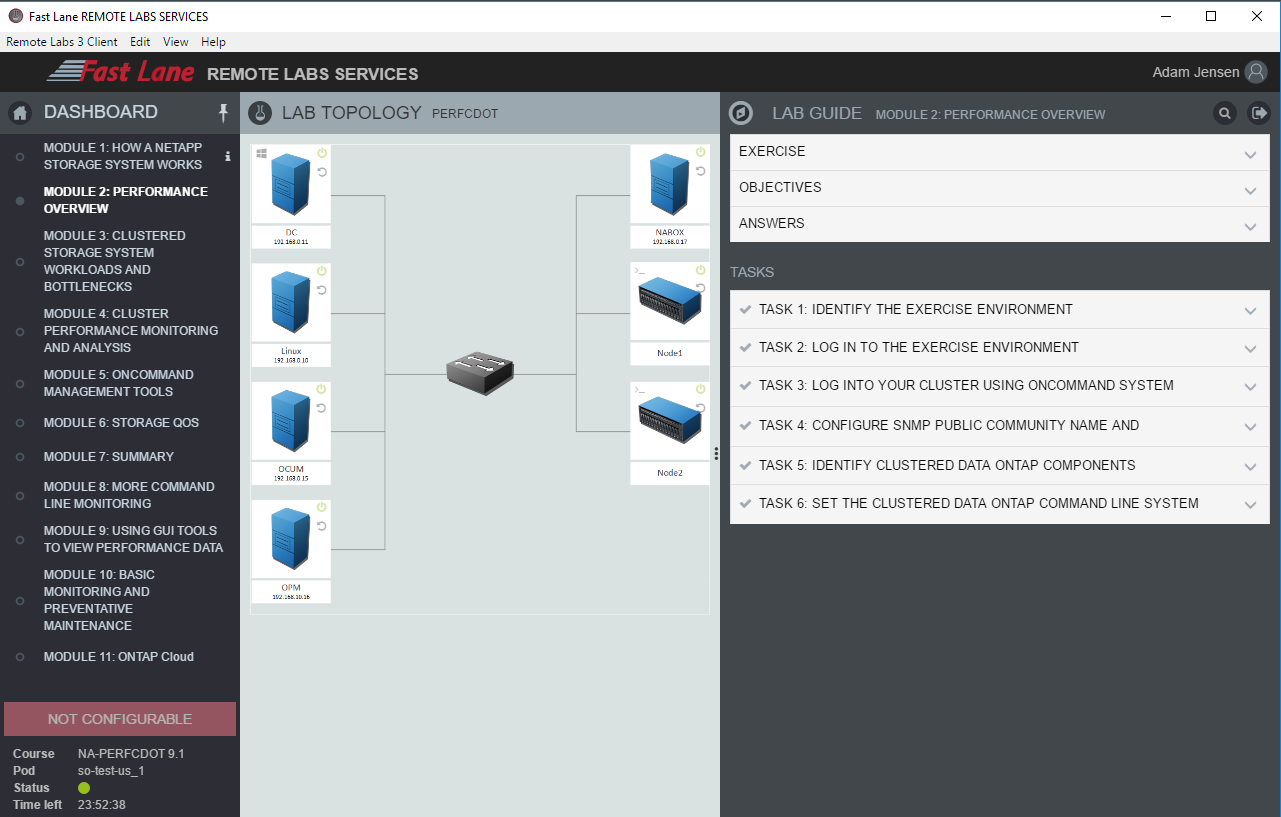
The Lab View is separated in these three secitions:

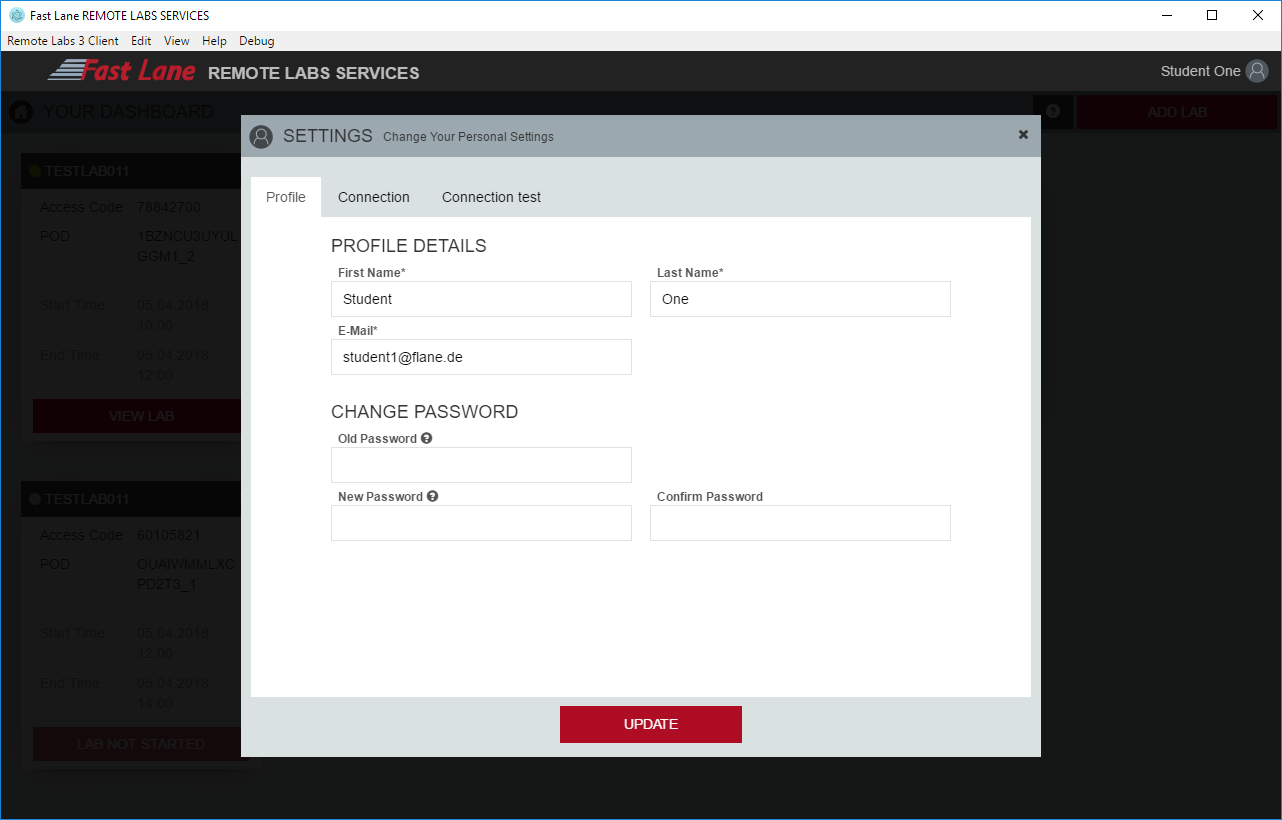
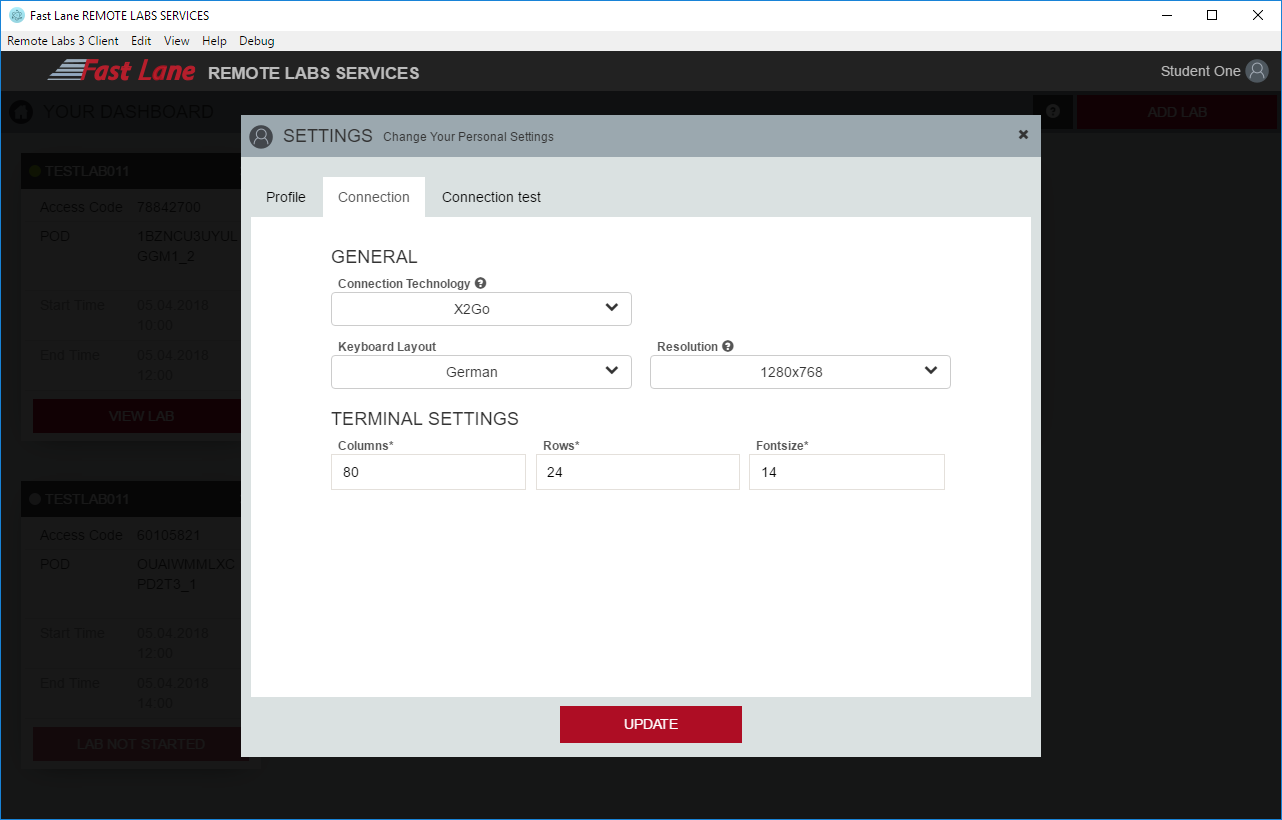
On your Dashboard, you're able to get to the clients settings page when you click on your Name in the upper right corner of the screen.
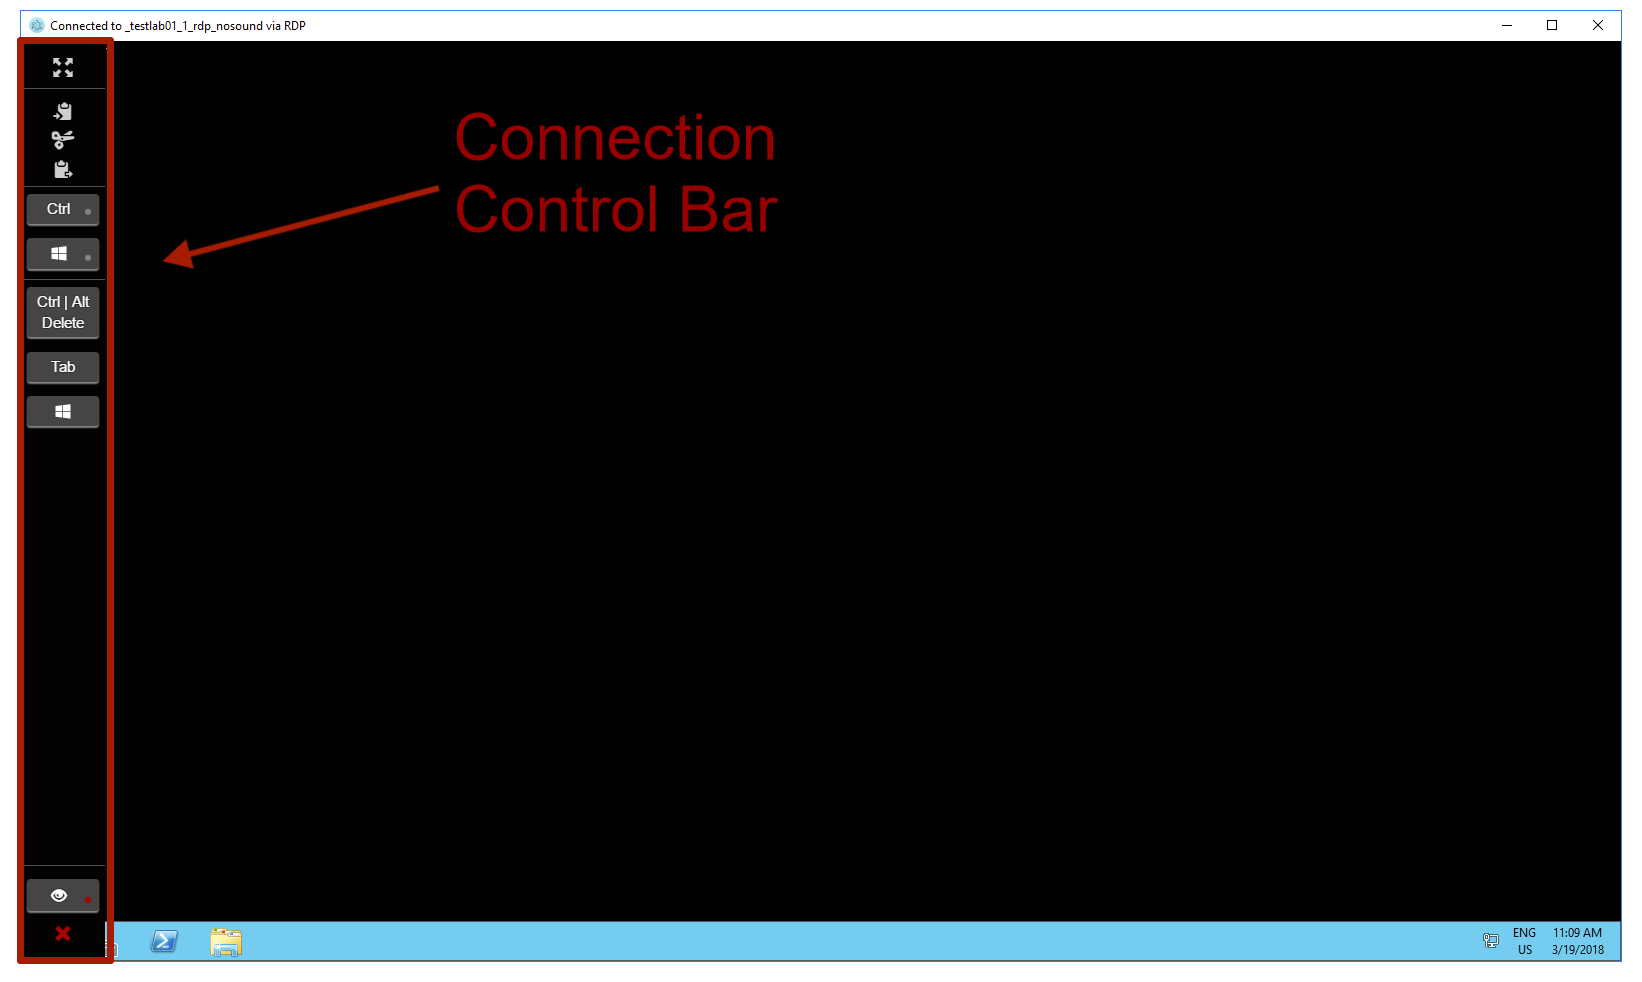
The Connection Control Bar is available for connections using the Guacamole protocol. It contains several control elements for a remote connection. Depending on the connection type and the user's permissions, a different number of control items are displayed.
To display / hide the control the user can either click on the small arrow at the top left of the connection window or type Ctrl+ Alt + Shift + Space.
Shortcuts are available for nearly all controls. All shortcuts start with Ctrl + Alt + Shift followed by a command key:
| Shortcut | Short description | Icon / Description |
|---|---|---|
| Ctrl+Alt+Shift+Space | Show / hide control bar | Show Control Hide Control |
| Ctrl+Alt+Shift+c | Copy | Copy |
| Ctrl+Alt+Shift+x | Cut | Cut |
| Ctrl+Alt+Shift+v | Paste | Paste |
| Ctrl+Alt+Shift+r | Lock Ctrl key | Lock Ctrl key |
| Ctrl+Alt+Shift+e | Lock Windows key | Lock Windows key |
| Ctrl+Alt+Shift+Delete | Ctrl + Alt + Delete | Send Ctrl + Alt + Delete |
| Ctrl+Alt+Shift+w | Send Windows - Key | Send Windows key |
| Ctrl+Alt+Shift+s | Toggle Spectator mode | Toggle Spectator Mode |
| Ctrl+Alt+Shift+f | Toggle Fullscreen | Fullscreen Window Mode |
| Ctrl+Alt+Shift+q | Close connection | Close connection |
These items are independent from the connection type and user permission.
| Short description | Icon | Description / Action |
|---|---|---|
| Show control |  |
Conrol bar slides into view |
| Hide control |  |
Control bar slides out of view |
| Fullscreen |  |
Displays the window in Fullscreen mode (without window decorations and window bar) |
| Window Mode |  |
Switches the connection window from Fullscreen to Window mode |
| Copy |  |
Copies a selected text from the remote machine to the user's clipboard |
| Cut |  |
Copies the selected text from the remote machine to the user's clipboard and deletes the selected text |
| Paste |  |
Pastes a text from the user's clipboard to the remote machine |
| Close connection |  |
Closes connection and window. |
| Short description | Icon | Description / Action |
|---|---|---|
| Lock Ctrl |  |
Locks the Ctrl key. This means that every time the user presses a key, the Ctrl key is send prior to the key pressed.
A red bulb indicates that the key is locked: 
|
| Lock Windows Key |  |
Locks the Windows key. This means that every time the user presses a key, the Windows key is send prior to the key pressed. |
| Send Ctrl + Alt + Delete |  |
Sends the Ctrl + Alt + Delete command to the target device. |
| Send Windows Key |  |
A windows key press is send to the target device. |
| Short description | Icon | Description / Action |
|---|---|---|
| Toggle Spectator mode |  |
Enables / Disables the Spectator mode for this connection.
If locked (red bulb is displayed) the Spectator mode is enabled and all inputs are ignored. |
To copy between your and the remote computer, the RL3Client uses special key combinations instead of Ctrl+c, Ctrl+x or Ctrl+v when connecting via the Guacamole protocol (for details have a look at the Shortcuts section).
This ensures that copying (with Ctrl+c) and pasting (with Ctrl+v) work as usual on the remote device.
Have a look at the following video for a detailed explanation of the described behavior:
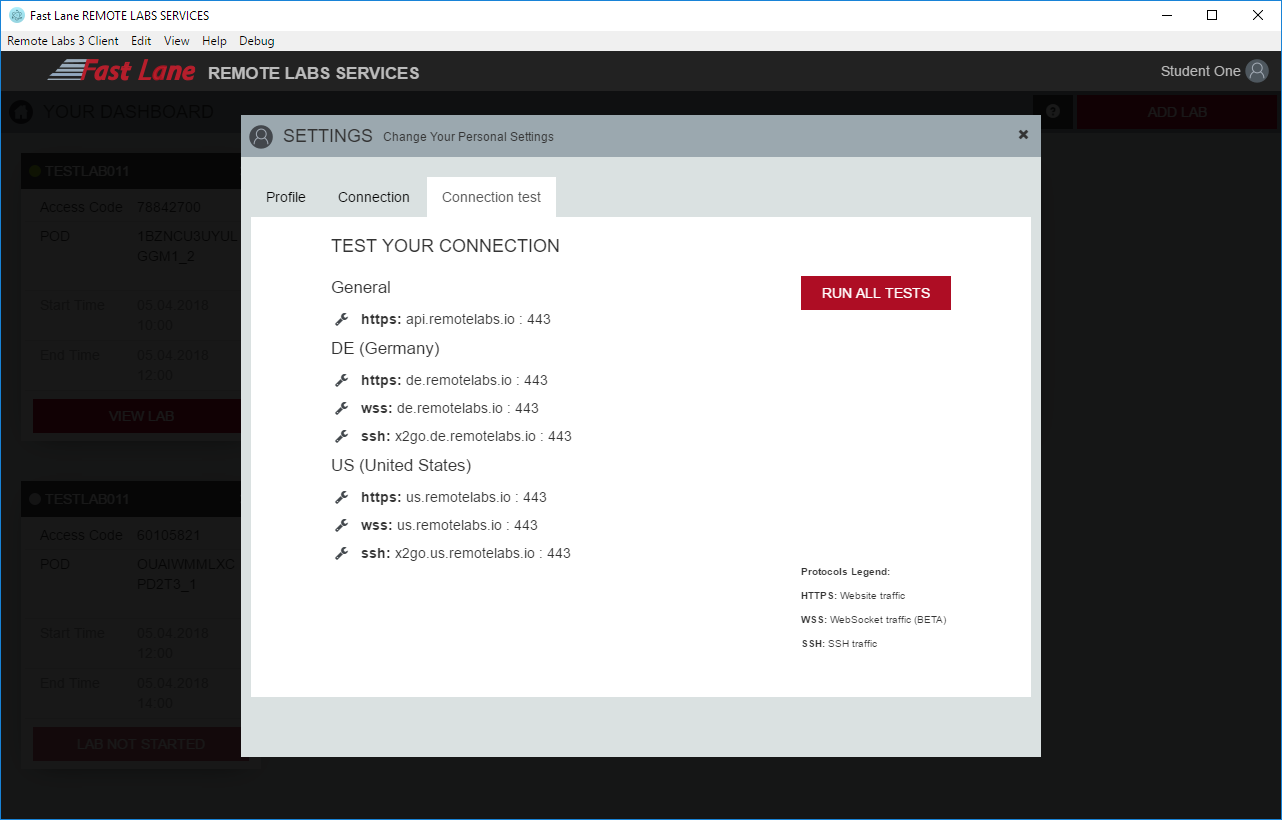
The Connection Test ensures that all your connection requirements are met. We'll establish test connections to our infrastructure to make sure you've got optimal connectivity to our labs.
Our support team is available 6am-2am (CET* / CEST**) from Monday-Friday.
* Central European Time (UTC+1)
** Central European Summer Time (UTC+2)
Please contact us via:
Please visit our download page in order to download and install the RL3Client.